

When I initially confronted the daunting task of integrating a solar inverter into a breaker box, I was enveloped by an overwhelming sense of uncertainty. Questions flooded my mind: Where should I even start? Which safety protocols are essential? This journey not only illuminated the intricate technical procedures involved but also underscored the critical importance of meticulous attention to detail and rigorous safety standards.
My first order of business was to ensure that all power sources were definitively turned off—this non-negotiable step is paramount when undertaking such installations. The assembly of required tools, coupled with strict adherence to local regulations, necessitated a blend of precision and patience. Each segment of the process—from installing solar panels and linking them to a charge controller, to connecting the battery bank and the inverter—was a revelation in its own right. The pivotal moment involved the actual connection of the inverter to the breaker box, a task demanding careful evaluation of wire sizes and the choice between series or parallel configurations.
By meticulously following these structured steps, I successfully achieved a safe connection of my solar inverter to the breaker box. Ensuring the correct wire sizes are employed, along with incorporating safety devices such as breakers, effectively mitigates the risk of overloads and significantly enhances overall safety. If you find yourself venturing into the world of electrical work without prior experience, enlisting the expertise of a qualified electrical engineer is undoubtedly a prudent decision. My sincere hope is that this guide not only clarifies the process for you but also empowers you to connect your solar inverter both safely and effectively.
It is safe to connect a solar inverter without turning off power.False
Power must always be turned off to ensure safety during installation.
Meticulous attention to detail is crucial when installing a solar inverter.True
Careful evaluation and adherence to standards ensure a safe installation.
2. How To Disconnect The Grid And Install Solar Panels?
3. How To Properly Connect Solar Panels To The Charge Controller?
4. How To Connect The Charge Controller To The Battery Bank?
5. How To Link The Battery Bank To The Inverter?
6. What Are The Steps To Connect The Inverter To The Breaker Box?
7. What Are The Critical Safety Checks And Tests?
Conclusion
What Preparations Should Be Made Before Installing A Solar Inverter?
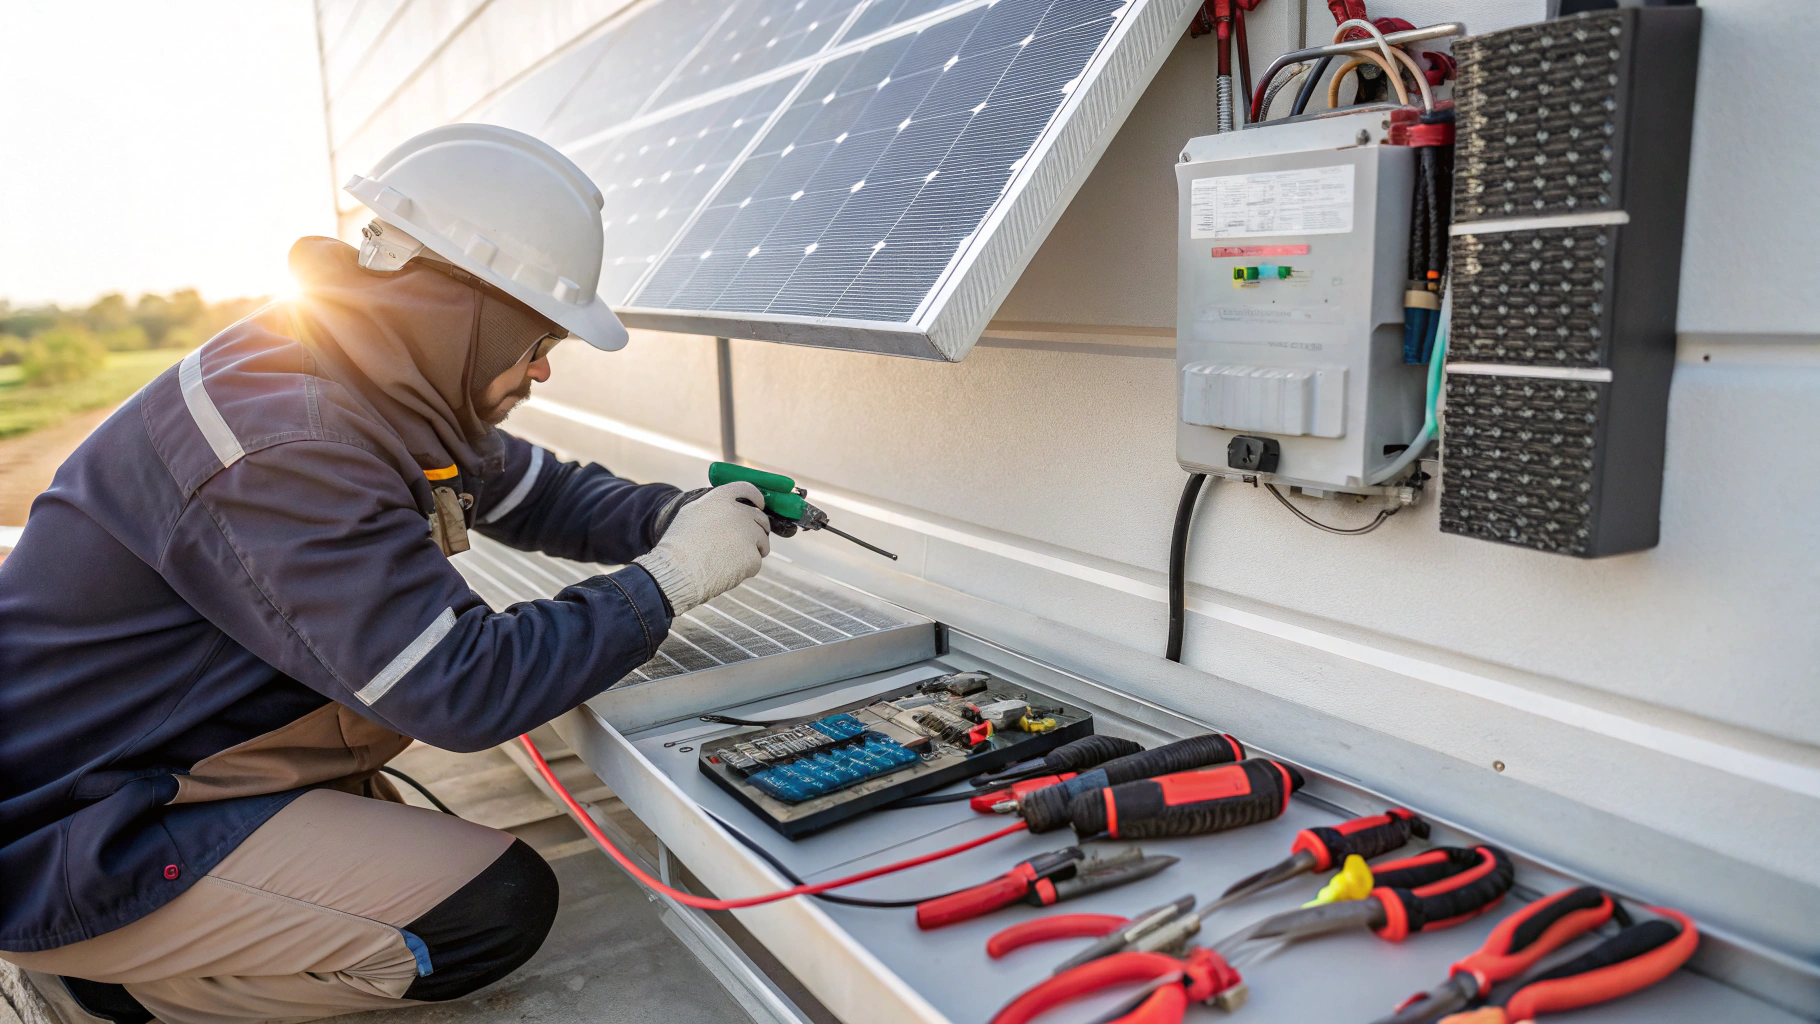
Reflecting on my initial experience with installing a solar inverter, I vividly remember moments of feeling overwhelmed. Surrounded by a plethora of tools and materials, nerves crept in; yet, in those moments, the significance of meticulous preparation became starkly evident. Did you know that having the right tools at your fingertips—like screwdrivers, wrenches, wire strippers, and multimeters—is indispensable? These tools serve as the bedrock for a successful installation, allowing me to proceed in an organized manner.
To ensure the installation of the solar inverter was executed safely, my first step was to cut off power and don the appropriate personal protective equipment. You might wonder why such precautions are paramount. The truth is, they act as your shield against potential electrical hazards, ensuring that the workspace remains secure—never an aspect to take lightly.
For those intrigued, much like I was, about how to connect the solar inverter to the breaker box, selecting an appropriate installation location is critical. A well-ventilated area is ideal, as it not only prolongs the lifespan of the equipment but also enhances its efficiency. Then comes the crucial phase—attaching the solar panel wires to the inverter, ensuring that the connections are securely fastened.
How To Disconnect The Grid And Install Solar Panels?
When I embarked on the journey of linking my solar inverter to the breaker box, a palpable sense of overwhelm enveloped me, particularly in light of the myriad technical specifications. However, as I immersed myself in the intricacies of the task, the process gradually unfurled itself, revealing a manageable endeavor underneath the surface complexity. If you find yourself similarly positioned—aspiring for energy autonomy while wrestling with hesitations about the setup—allow me to shed light on how I navigated this endeavor.
Safety First: The paramount concern when connecting a solar inverter to the breaker box is, unequivocally, safety. My first step was diligently ensuring that the entire solar system was powered down. This involved shutting off both the AC and DC isolators, as well as meticulously covering the solar panels to avert any unintentional energy production. The tranquility that accompanied this preliminary precaution was profoundly reassuring.
Navigating the Complexity: The subsequent phase involved the delicate maneuver of disconnecting and reconnecting systems. With meticulous care, I adjusted the DC and AC switches, employing a multimeter to verify the absence of residual voltage—a crucial safety measure. The gratifying sensation accompanying each secure connection as it clicked firmly into place was nothing short of exhilarating.
Embracing the Rewards: Every progress I made affirmed that I was inching closer to true energy self-sufficiency, which was profoundly gratifying. For those contemplating the installation of a solar system, this endeavor symbolizes not merely an investment in innovative technology, but also a commitment to sustainable living. Imagine the potential savings on your utility bills combined with the peace of mind that comes with resilience during power outages!
Taking Action: Are you prepared to bridge the gap between your solar inverter and breaker box? I wholeheartedly recommend seeking out professional assistance should any uncertainties arise. Remember, the cornerstone of this venture is safety! Armed with the right expertise and a mindful approach, embracing solar energy can transform into a stimulating and attainable undertaking. I sincerely hope these insights inspire you—why not kickstart this journey today?
Featured Snippet Potential: Integrating a solar inverter with the breaker box necessitates meticulous planning and stringent safety measures, including disabling all isolators and ensuring the absence of residual voltage, to seamlessly incorporate solar power into your home’s electrical system.
How To Properly Connect Solar Panels To The Charge Controller?
When I embarked on my initial endeavor to connect a solar inverter to the circuit breaker box, an overwhelming sense of confusion washed over me. However, through a process of persistent experimentation, I discovered a streamlined and effective methodology that ensured a secure connection. It is my heartfelt wish that my experiences can offer you valuable guidance.
To begin with, I immersed myself in the intricacies of linking the charge controller to the battery. Utilizing short cables and incorporating a fuse was paramount in achieving safety. Subsequently, I meticulously followed the manufacturer’s guidelines to initialize the controller, a crucial step that helped avert potential system malfunctions. While connecting the solar panels, I paid particular attention to the polarity of the connections. To secure a robust link, I opted for high-quality MC4 connectors. Furthermore, based on my requirements, I decided to connect multiple solar panels in series, allowing for the generation of the necessary high voltage.
To facilitate a smoother process, I employed a suite of essential tools: solar cables, cable connectors, and a multimeter—each pivotal for inspection and connection. It’s vital to always adhere to the manufacturer’s instructions; improper connections can lead to short circuits or equipment failures.
Ensuring a safe connection between the battery, charge controller, and solar panels is a critical step in installing a solar power system. My advice is to thoroughly review each step before diving in, as this will undoubtedly aid you in making accurate connections. If you’re ready to undertake the installation, I encourage you to take these steps now; I am confident you will witness fruitful results.
How To Connect The Charge Controller To The Battery Bank?
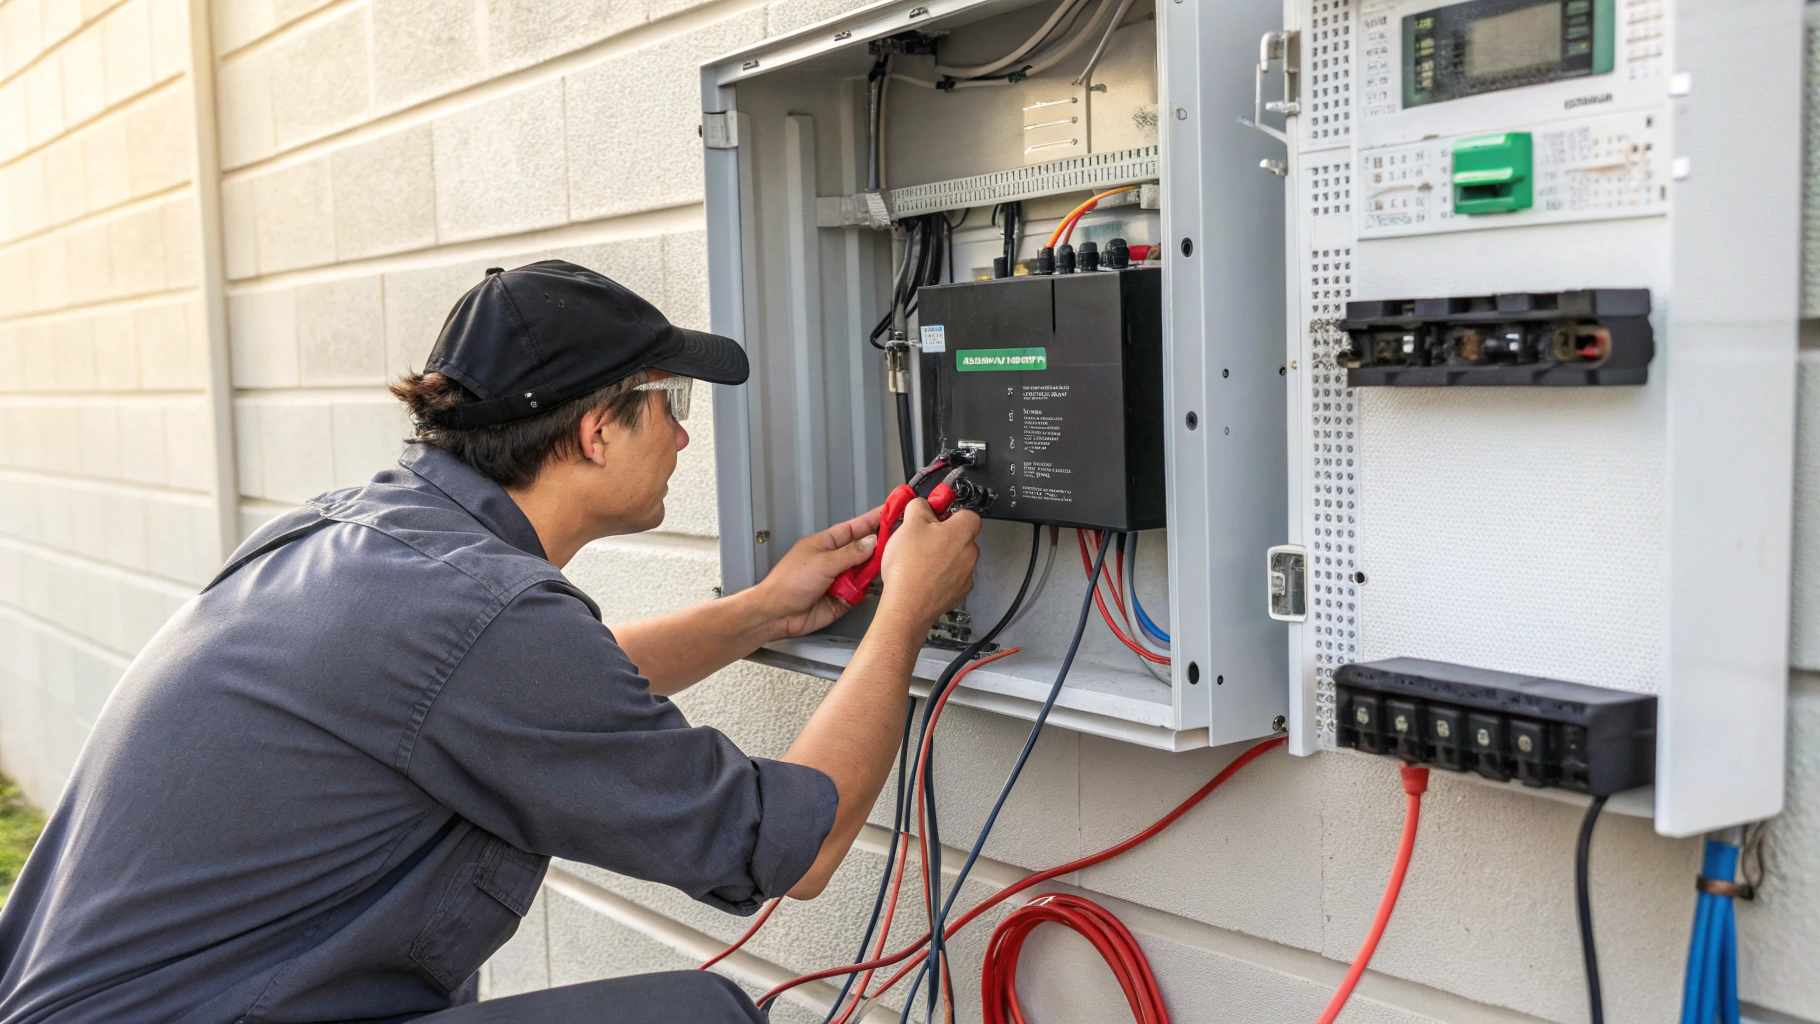
Embarking on the journey to connect my solar inverter to the breaker box was initially a daunting endeavor, fraught with a myriad of technical intricacies. However, with a measure of patience and a clear roadmap, what seemed overwhelmingly complex unfolded into a surprisingly straightforward process. Allow me to recount how I navigated this challenge.
First and foremost, safety reigned supreme in my preparations. I prudently disconnected my solar panels to halt any current flow, taking extra precautions by inspecting my batteries for potential damage. Once I ensured a secure environment, I proceeded to connect the battery to the charge controller. A critical decision lay in choosing the appropriate wire gauge; I settled on a robust 10-gauge wire capable of handling a current of up to 30 amps, thus aligning perfectly with the demands of my system.
With careful precision, I detached the ring terminals from my battery and seamlessly connected them to the charge controller, making certain that each connection was tight and secure. Properly crafted connections not only avert short circuits but also ensure optimal performance. After firmly reconnecting the battery terminals, I felt a rush of eagerness, ready to initiate a test run.
For those delving into this venture, remember that the selection and securement of the correct wire gauge is indispensable for a safe and effective setup. By adhering to these outlined steps, you too can confidently link your solar inverter to your breaker box. So, are you prepared to ignite your solar journey?
How To Link The Battery Bank To The Inverter?
The first time I attempted to link a solar inverter to a breaker box, I found myself engulfed in a wave of uncertainty. The intricate dance of voltage specifications and the myriad of connection techniques can be quite intimidating. Nevertheless, through careful comprehension of the requisite steps and essential safety measures, I transformed what initially felt like a daunting challenge into a manageable task.
First and foremost, it is crucial to ascertain the voltage requirements of your inverter. For example, if you’re working with a 24-volt inverter, it is imperative that your battery bank mirrors this with a 24-volt configuration. Once that foundational understanding is established, selecting the appropriate connection approach—be it series, parallel, or series-parallel—becomes invaluable. To illustrate, a 24-volt inverter paired with four 12-volt batteries necessitates a series-parallel connection to effectively balance the voltage and capacity.
The process of interconnecting the battery bank requires meticulous precision; batteries must be carefully linked either in series or parallel. Once that is accomplished, the next step is to securely attach the positive and negative leads to the inverter, ensuring that these connections are steadfast to avoid any risk of short circuits. Prioritizing safety cannot be stressed enough—always ensure the inverter is switched off prior to commencing any work, and equip yourself with insulated gloves and protective eyewear.
To guarantee smooth functionality, I diligently reviewed all connections and tested them with a minor load. Vigilance for any anomalies, such as signs of overheating, proved essential. By adhering to these comprehensive steps, I successfully and safely connected my solar inverter to the breaker box. I sincerely hope that my journey provides you with the insights necessary to embark on your own solar adventure.
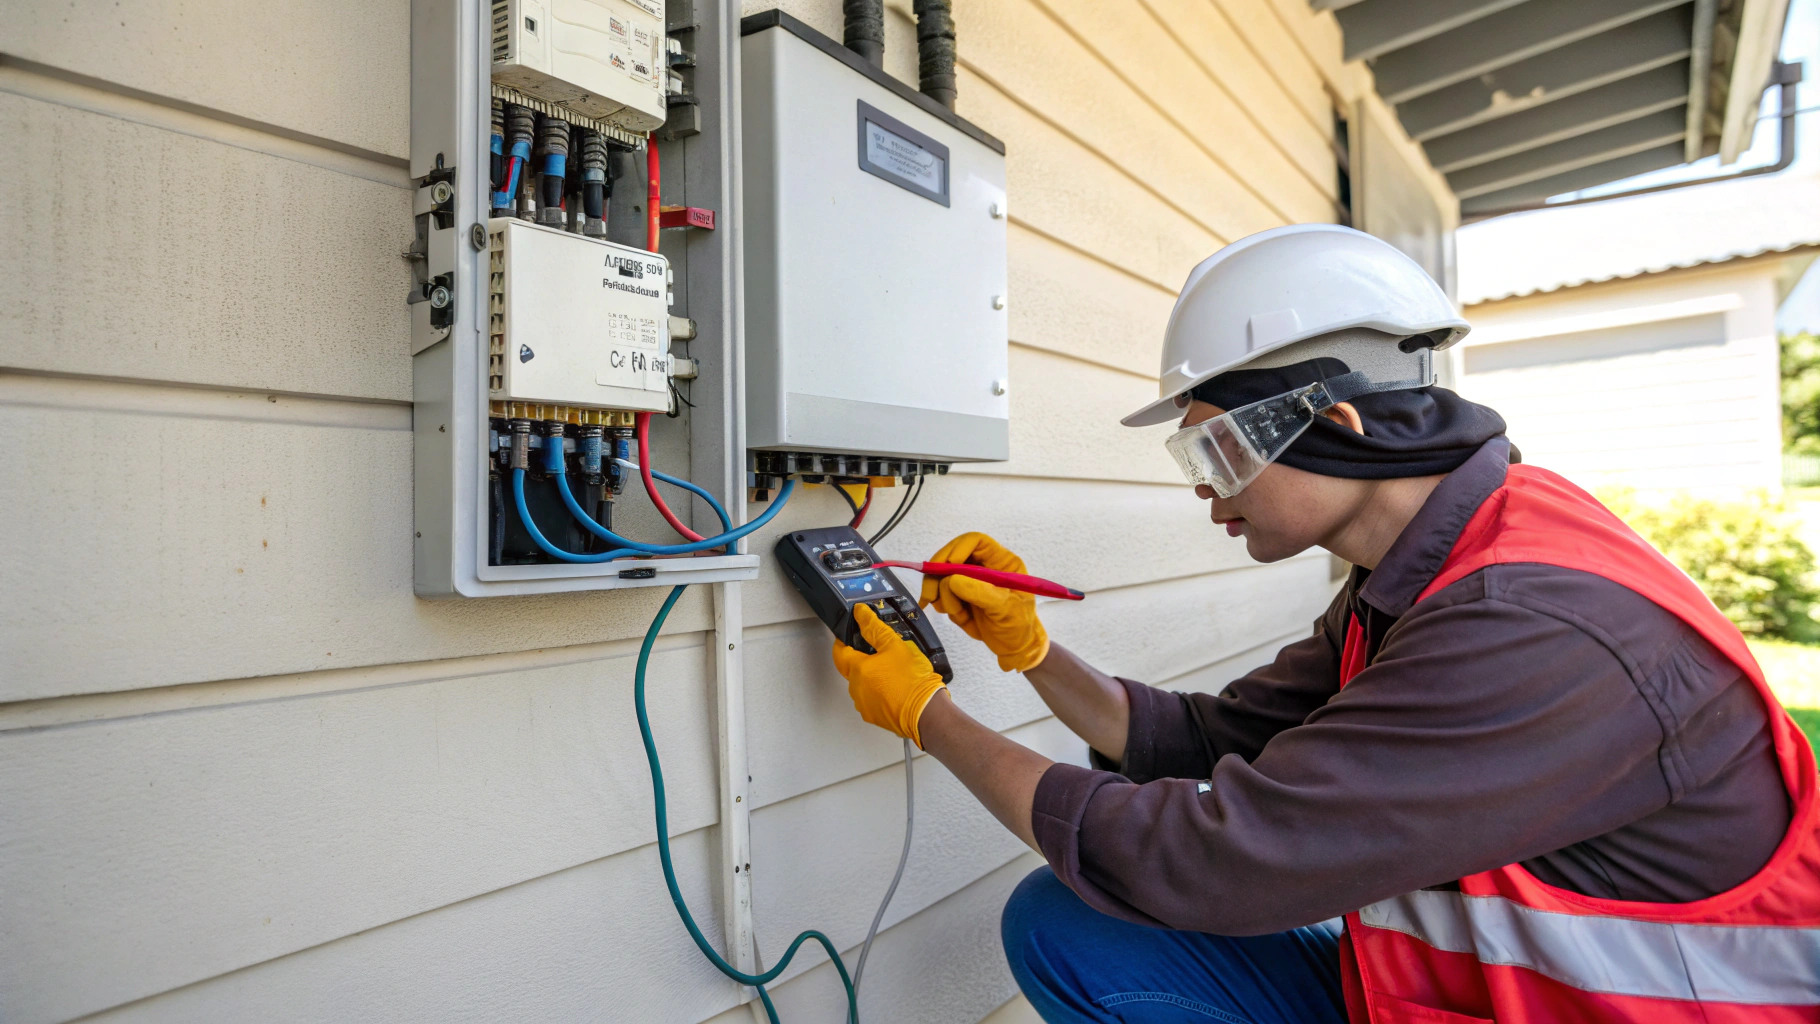
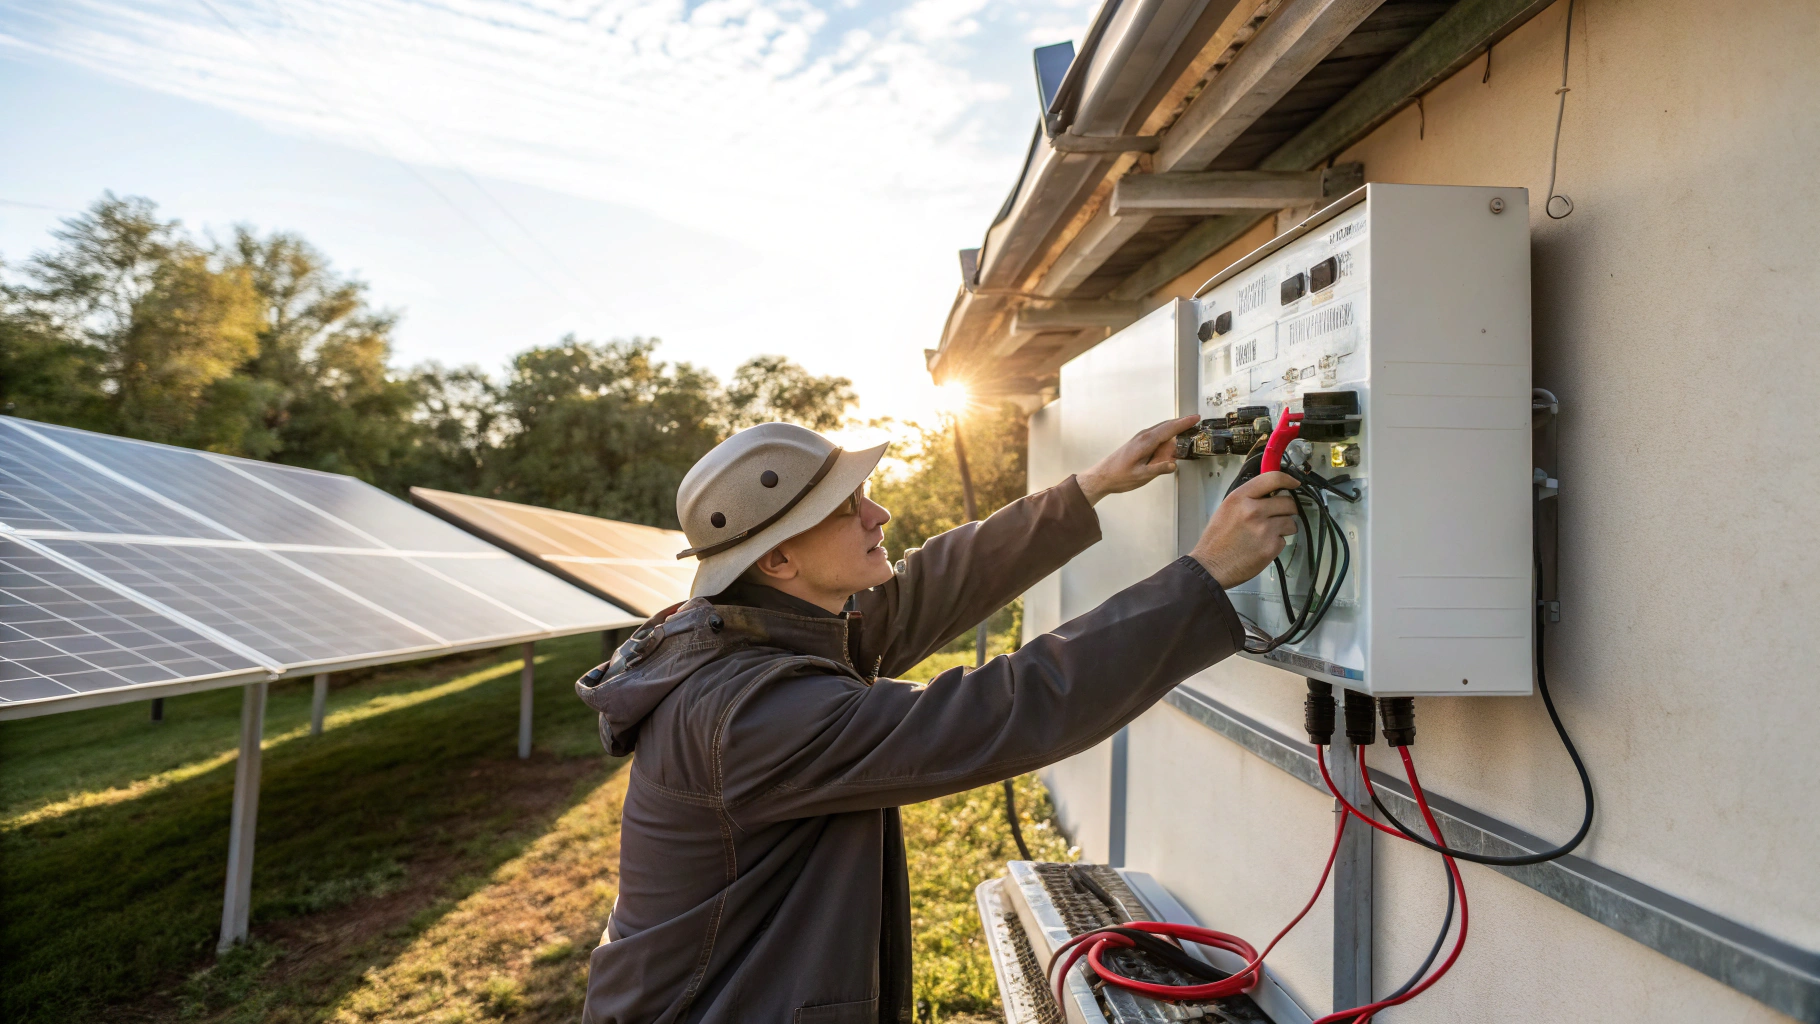
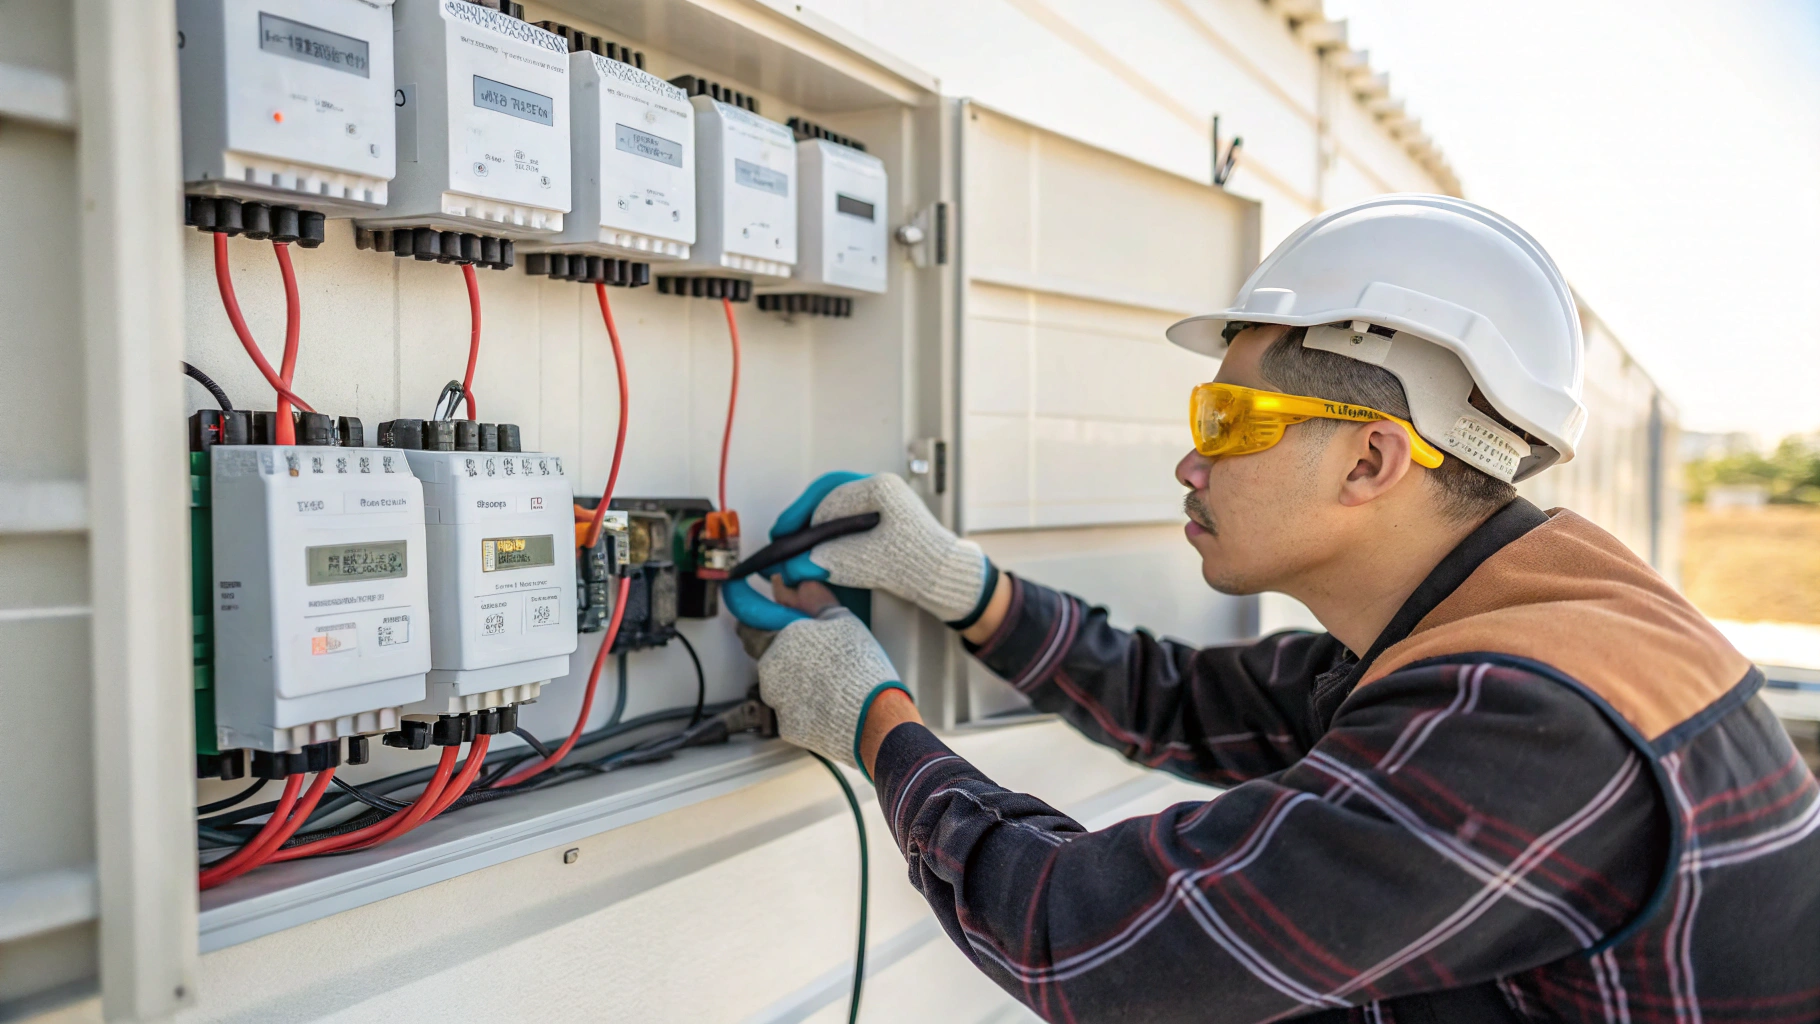
What Are The Steps To Connect The Inverter To The Breaker Box?
In the moment I resolved to link a solar inverter to my breaker box, an unsettling wave of uncertainty washed over me. The mere thought of interacting with electricity can be daunting, yet with the right guidance, it morphs into a manageable—and indeed, empowering—endeavor. The crux of the matter lies in preparation and safety; ensuring the main power supply is turned off is essential to fend off any potential electrical shocks. I still vividly remember the meticulous act of securely affixing the inverter adjacent to the breaker box—though it may seem minor, it was a pivotal step that laid the groundwork for the entire project.
Each wire, whether direct current (DC) or alternating current (AC), plays a significant role in this intricate process. Correctly identifying and connecting these wires is akin to piecing together a jigsaw puzzle, enhanced by the reassuring guidance of color codes: red and black designate the DC connections, while black, white, and green—or bare—guide the AC configurations. It’s a precise dance of knowledge and attention to detail, ensuring that all connections are robust and rated to handle the inverter’s power needs.
Here’s a succinct recap: Safely connect your solar inverter to the breaker box by meticulously preparing your workspace, securely mounting the inverter, accurately identifying and connecting both DC and AC wires, and ensuring proper grounding.
What I unearthed through this experience is that grounding transcends a mere procedural step; it stands as a fundamental pillar of safety. By diligently attaching the ground wire, I fortified my system against the threat of electrical shocks. The concluding checks, while straightforward, fortified my confidence immensely. When I finally replaced the cover of the breaker box, a wave of accomplishment surged through me. If you adhere to these well-outlined steps, I wholeheartedly assure you, you will discover the process to be both gratifying and illuminating. Why not take the plunge? You may very well surprise yourself with what you are capable of achieving.
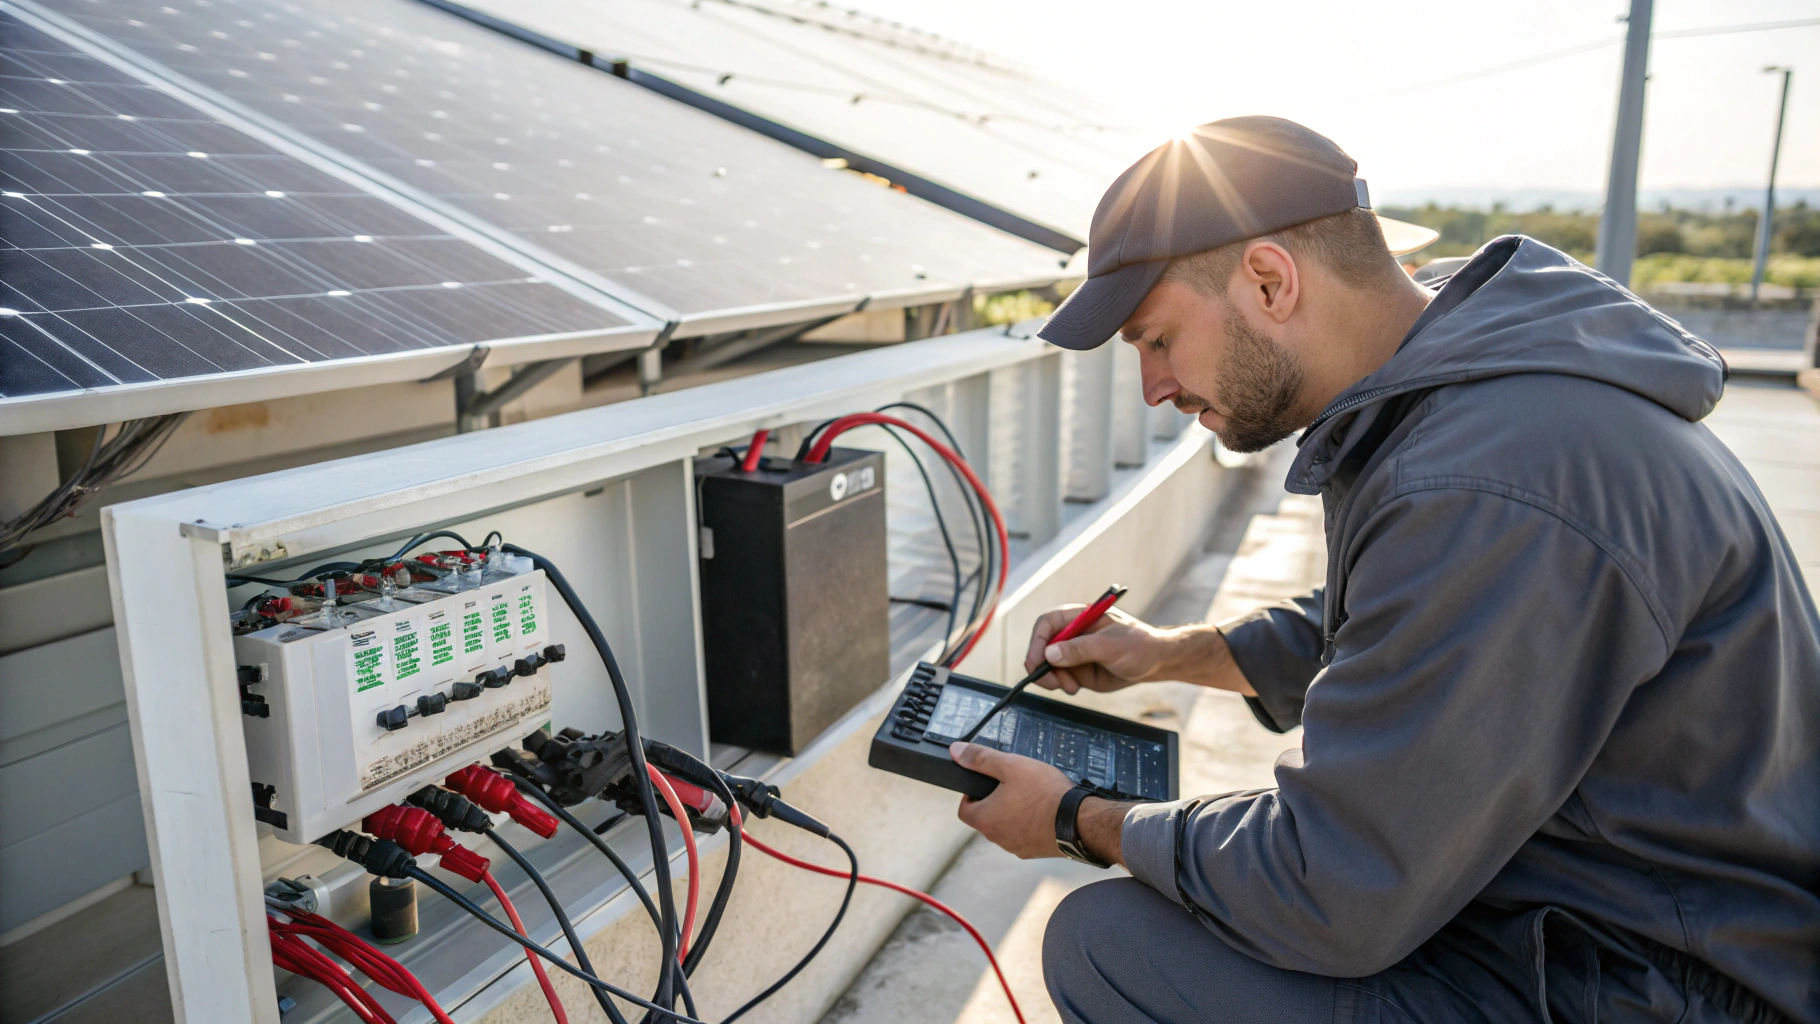
What Are The Critical Safety Checks And Tests?
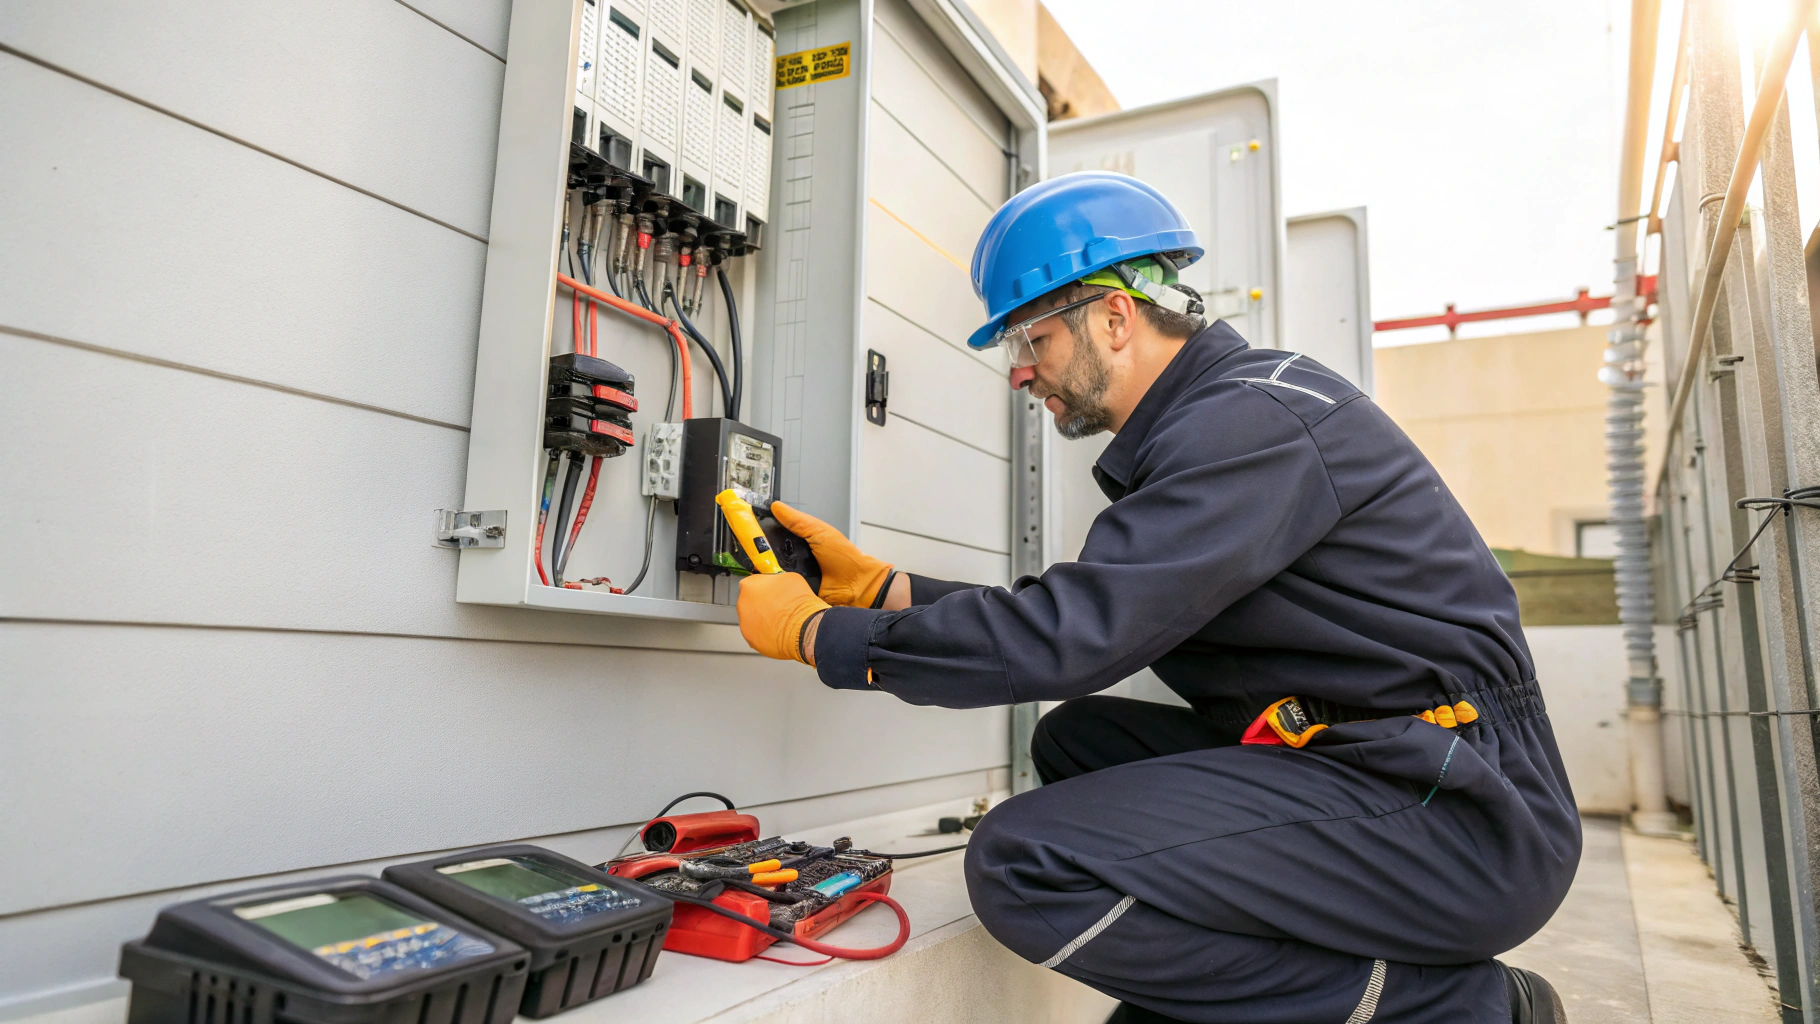
Reflecting on my initial attempt to link a solar inverter to a breaker box, I was engulfed in a maze of technical complexities and an acute awareness of safety protocols. It was akin to embarking on a challenging puzzle devoid of an image to guide me. The gravity of the task weighed heavily on my mind; I understood that prioritizing safety was imperative, not merely optional. I quickly discovered that conducting a comprehensive general safety inspection is fundamental to this endeavor. This inspection involves pinpointing potential health and safety risks, scrutinizing safety apparatus, and assessing existing safety methodologies.
During high-voltage operations, it is essential to guarantee that all conductive components remain at ground potential, making electrical testing safety of utmost significance. By proactively addressing any identified hazards with corrective actions, one can drastically reduce risks.
The first actionable step I advocate for is immersing yourself in your work environment through a detailed safety audit. Ensure that your circuits are measured and managed according to established standards. Before embarking on the connection process, it is vital to verify that all barriers, safety devices, and personal protective gear meet the required criteria. If you are contemplating this venture, heed my advice—preparation is your staunchest ally. I trust this insight will inspire you to place safety checks at the forefront, empowering you to approach this project with ample confidence. Why not begin today by revisiting your safety equipment and practices? It may prove to be the pivotal factor in your success.
Conclusion
Connecting a solar inverter to a breaker box can seem daunting at first, but as we’ve explored in this guide, the right preparations and adherence to safety protocols can transform this task into an empowering experience. From ensuring power sources are off to meticulously following installation steps, your diligence sets the foundation for a safe and successful setup.
It’s crucial to remember that knowledge paired with safety is your best ally in this journey. Partnering with professionals when in doubt can further enhance your confidence and ensure optimal functioning of your solar system. I encourage you to take action today by reviewing your own safety measures and embarking on your solar energy project, paving the way for a sustainable future.